Cycling enthusiasts and commuters alike know that safety is paramount when riding on the roads. One innovative solution that has gained traction in recent years is the automatic brake light for bikes. This nifty device offers a host of benefits that can significantly enhance the safety and overall experience of cyclists. In this blog post, we will delve into the advantages of using an
automatic brake light on your bike, drawing insights from various sources while also addressing some of the gaps in current discussions.
Enhanced Safety and Visibility
The primary and most compelling benefit of an automatic brake light is the enhanced safety it provides. When a cyclist applies the brakes, the light instantly illuminates, alerting drivers behind them of the sudden deceleration. This early warning can be crucial in preventing rear-end collisions, which are all too common in traffic. Unlike traditional brake lights that require manual activation, automatic brake lights work even when the cyclist doesn't consciously apply the brakes, such as during sudden downshifting or when encountering unexpected obstacles. This feature ensures that other road users are always aware of the cyclist's intentions, reducing the risk of accidents.
Improved Reaction Time for Drivers
One of the key aspects of road safety is the ability of drivers to react quickly to changes in traffic conditions. An automatic brake light on a bike can significantly improve a driver's reaction time. Studies have shown that the additional visibility provided by a third brake light (or in this case, an automatic brake light) can reduce rear-end collisions by up to 50%. This is because the light acts as a clear and immediate signal, allowing drivers to adjust their speed and position more effectively. In high-traffic situations or during night rides, this extra layer of visibility can make all the difference.
Convenience and Ease of Use
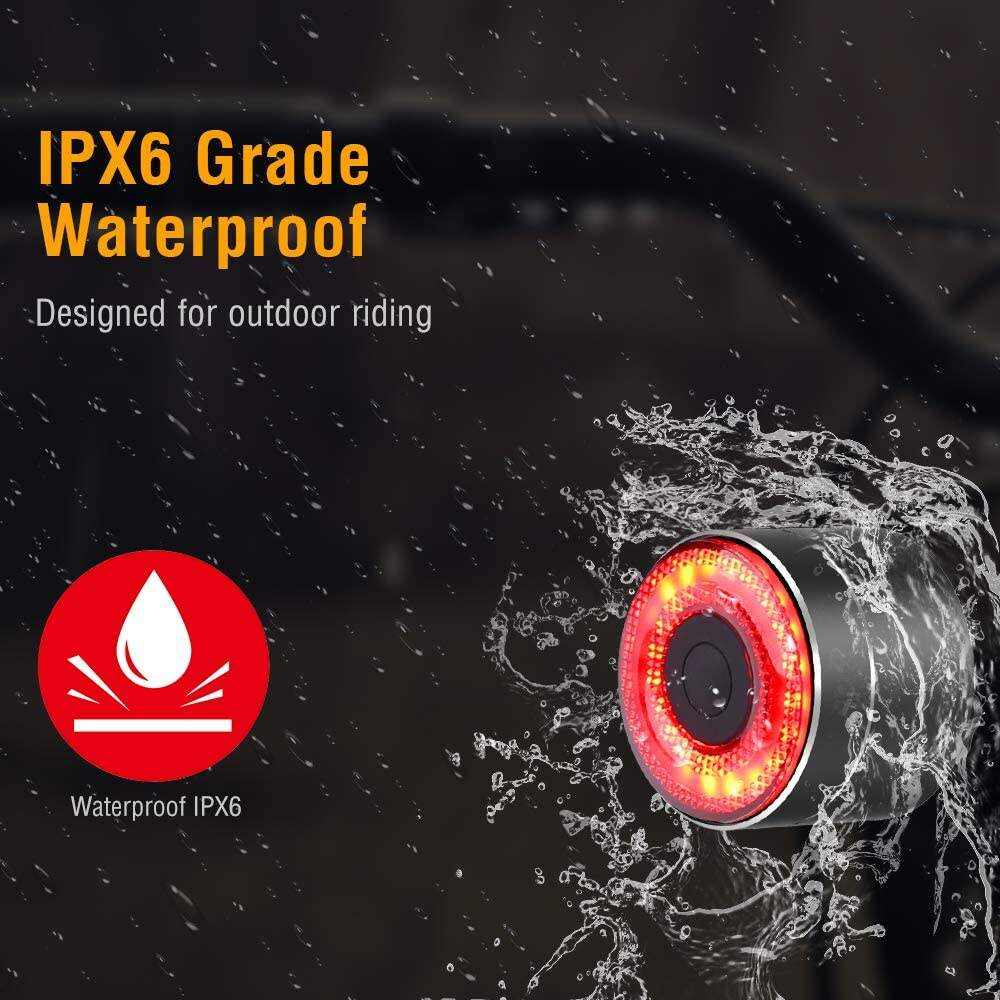
Automatic brake lights are designed with the user in mind. Most models are easy to install and require minimal setup. They typically come with a compact and durable design, making them suitable for various types of bikes. Additionally, many automatic brake lights are waterproof and made from rugged materials, ensuring they can withstand harsh weather conditions and rough rides. Some even offer multiple light modes, such as constant, flashing, or SOS, allowing cyclists to customize their settings based on their riding conditions.
Addressing Gaps in Current Discussions
While many sources highlight the safety and convenience aspects of automatic brake lights, there are some areas that could be further explored. For instance, the impact of these lights on cyclist confidence and behavior is often overlooked. Knowing that they have a reliable and visible brake light can encourage cyclists to take more assertive positions on the road, reducing the likelihood of accidents caused by hesitancy or indecision. Additionally, the potential for integration with other smart cycling technologies, such as GPS or collision detection systems, could be a promising avenue for future development.
How to install a custom automatic brake light on a bicycle?
Installing a custom automatic brake light on a bicycle can enhance safety by alerting others when you slow down or stop. Here's a step-by-step guide to help you with the installation:
1. Gather Materials:
- Automatic brake light kit (ensure it's compatible with bicycles)
- Screwdriver set
- Zip ties or mounting brackets
- Electrical tape
- Rechargeable battery (if not included in the kit)
2. Choose the Right Brake Light:
- Select a brake light designed for bicycles, preferably one with motion sensors that automatically activate when you decelerate.
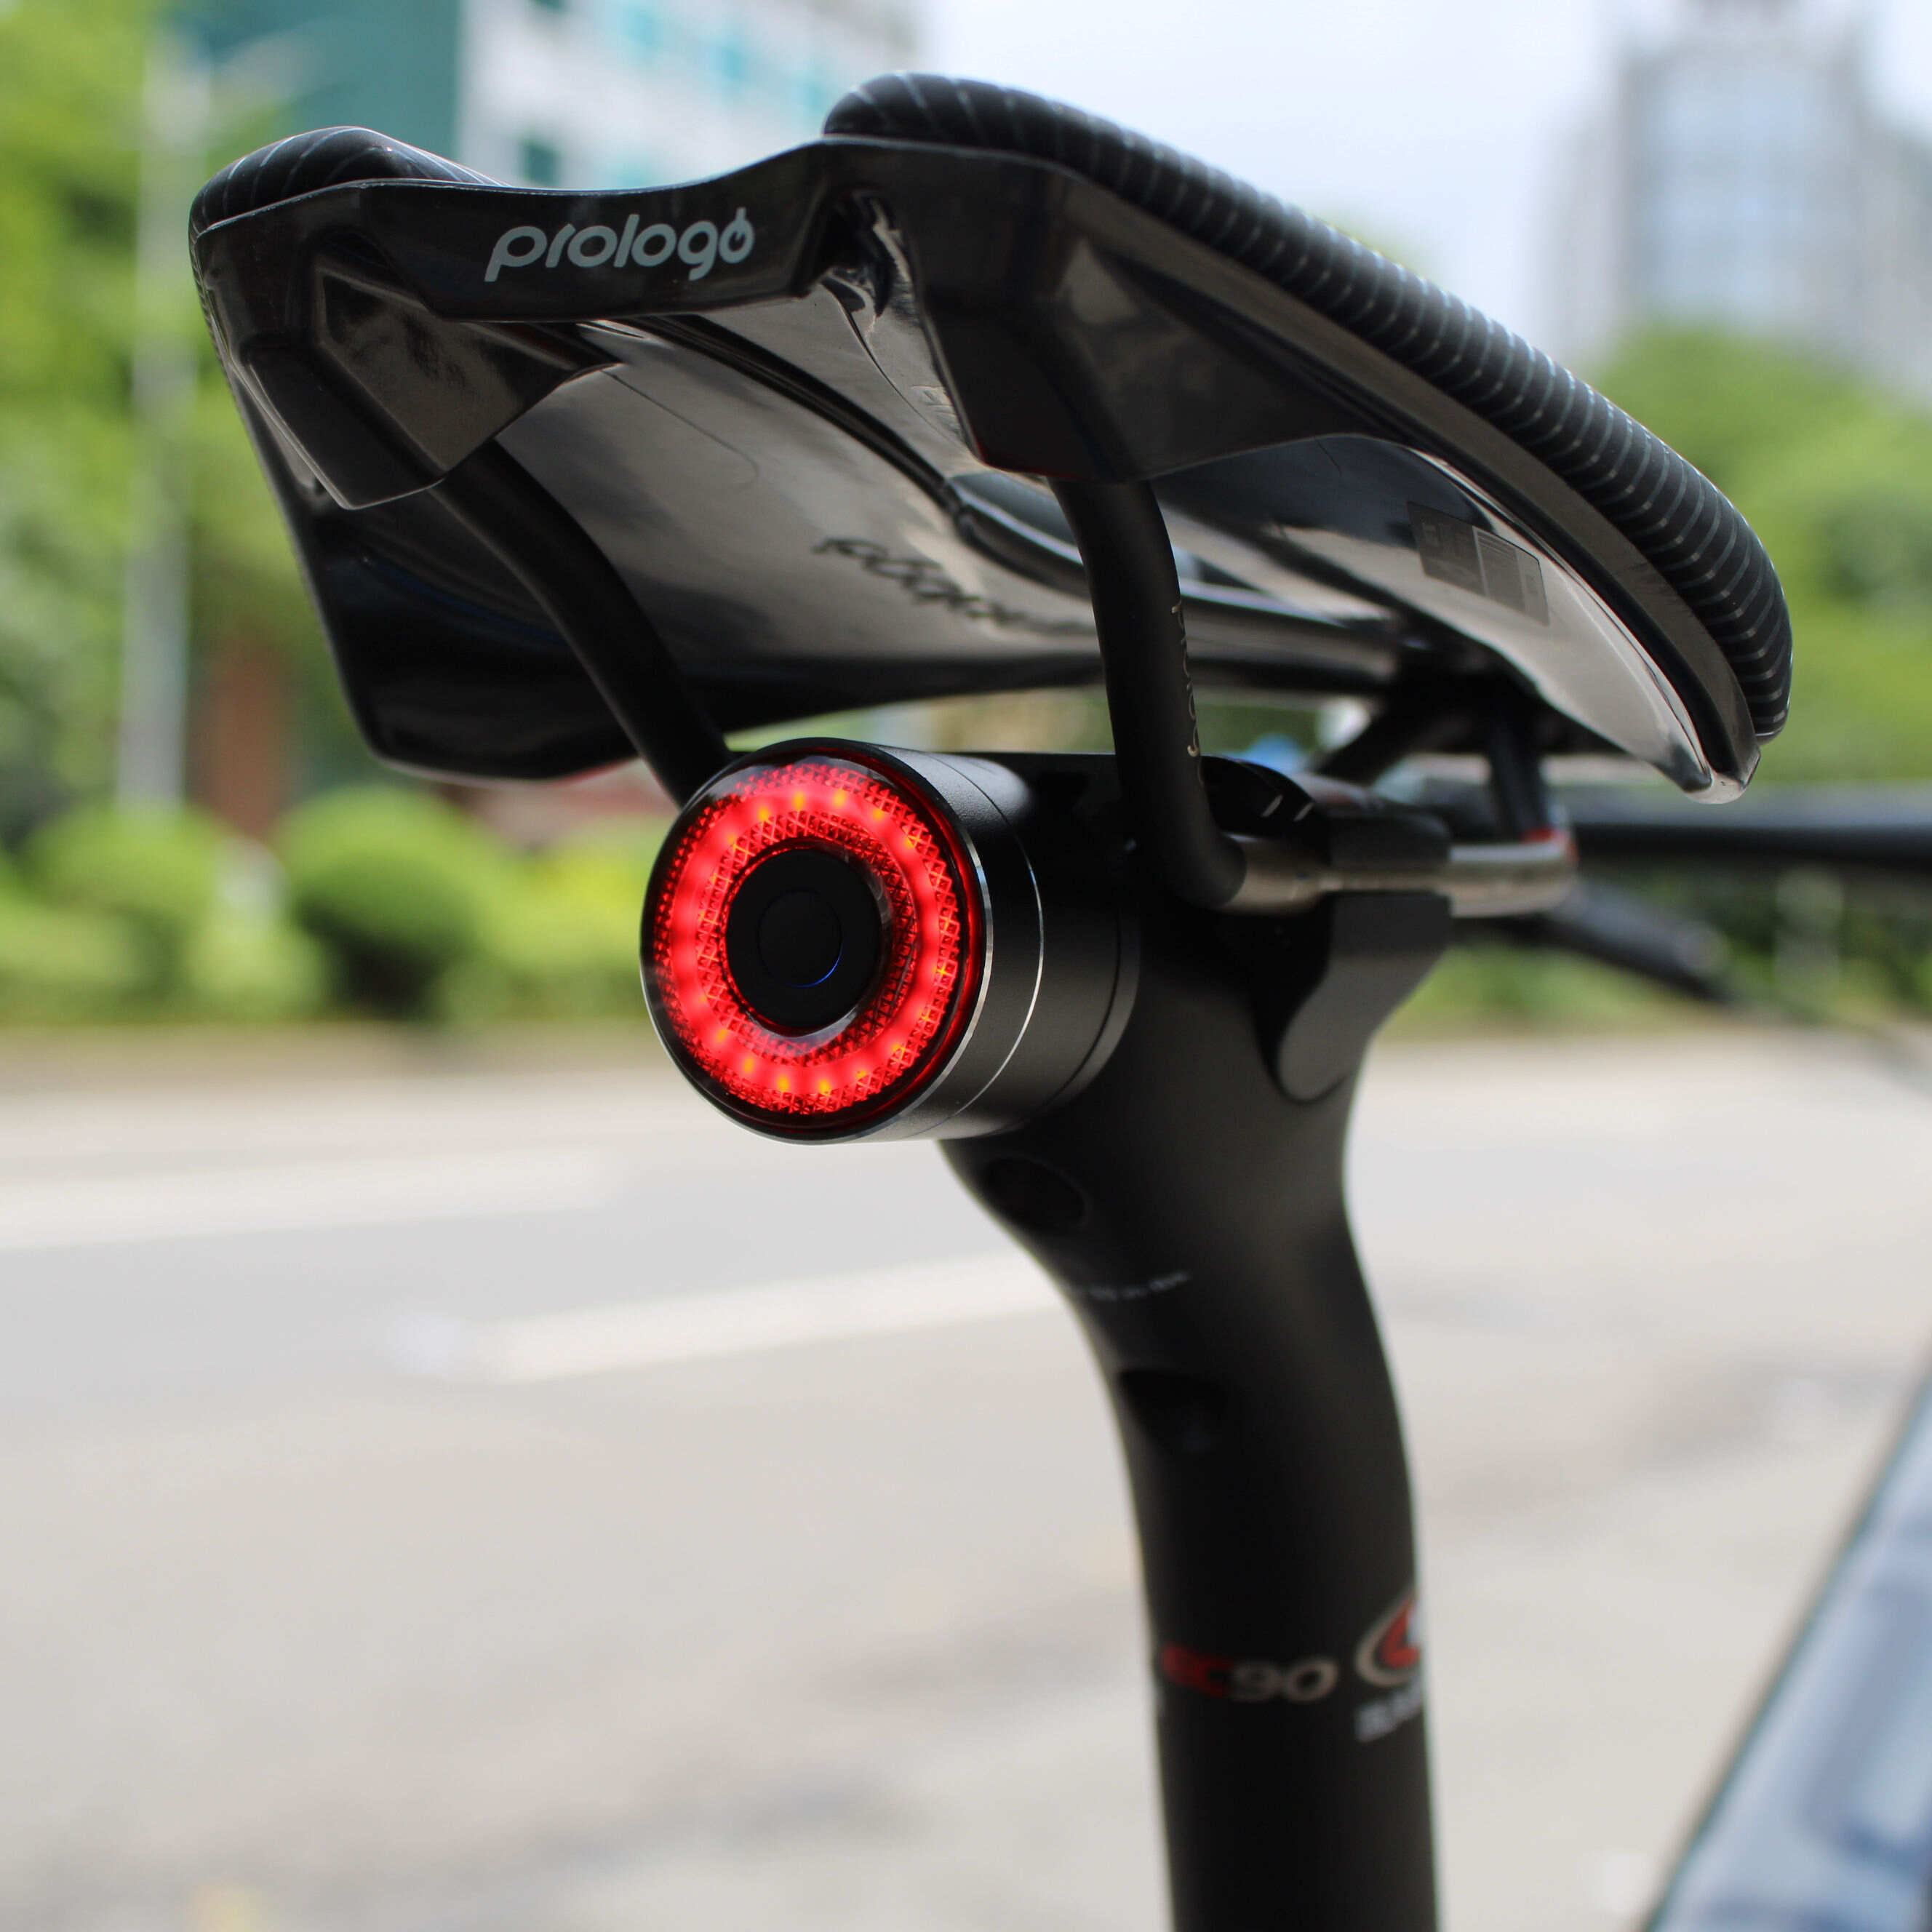
3. Mount the Brake Light:
- Identify the best location for the brake light, typically under the seat or on the rear rack.
- Use the provided mounting brackets or zip ties to secure the light in place. Ensure it's stable and visible from behind.
4. Connect the Power Source:
- If the brake light requires a battery, install it according to the manufacturer's instructions.
- Ensure the battery is fully charged before installation.
5. Test the Motion Sensor:
- Walk or ride your bicycle to test the motion sensor. The light should activate when you slow down or stop.
- Adjust the sensitivity settings if necessary, following the instructions provided with the kit.
6. Secure the Wiring:
- If your brake light has wires, use electrical tape to secure them along the frame of the bicycle.
- Ensure the wires do not interfere with any moving parts or the rider's comfort.
7. Final Adjustments:
- Double-check all connections and mounts to ensure everything is secure.
- Test the brake light in different lighting conditions to ensure visibility.
8. Regular Maintenance:
- Periodically check the brake light for any signs of wear or damage.
- Recharge or replace the battery as needed to ensure consistent performance.
By following these steps, you can successfully install a custom automatic brake light on your bicycle, enhancing your safety on the road.
Conclusion
In conclusion, the benefits of using an automatic brake light on a bike are manifold. From enhanced safety and improved driver reaction times to the convenience and durability of these devices, automatic brake lights offer a valuable addition to any cyclist's safety kit. By addressing some of the gaps in current discussions, we can further appreciate the potential of these lights to transform the cycling experience. Whether you're a daily commuter or a weekend warrior, investing in an automatic brake light could be one of the best decisions you make for your safety and peace of mind on the road.